
Summer 2013

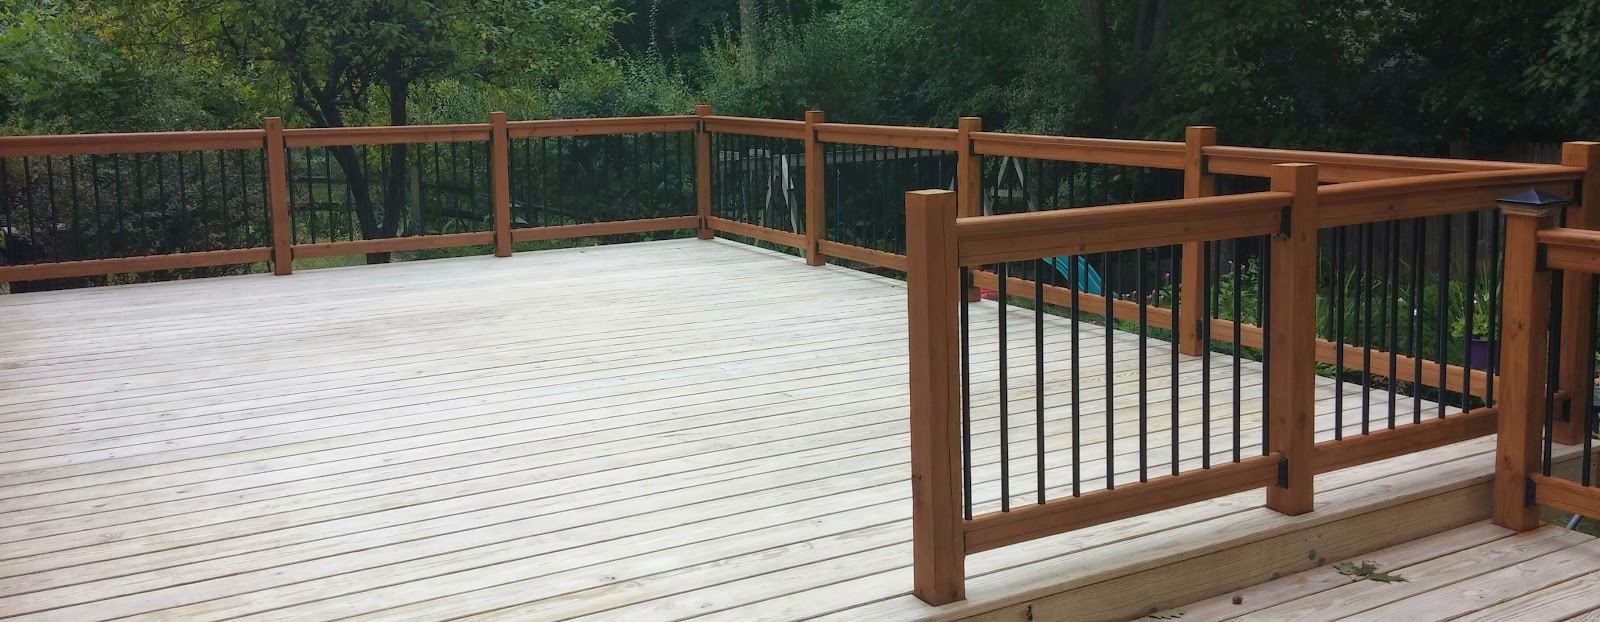
After - Pressure treated lumber with iron railings

Before - Overgrown shrubbery and decomposing, painted wood deck

By removing the overgrown shrubs it unified the back yard & made it feel larger

I am looking forward to choosing plants to landscape the perimeter of the deck

Sad state of disrepair - At this point the lattice and rails were falling off

We plan to add lattice skirting in the future to keep wood chucks & friends out

Demolition was a family affair (I helped, but played photographer too so not much picture proof)

Such willing little helpers - they are stronger than they look!

Here is the ugly state of the under structure. You can see that the previous owners put another layer of floor boards cross hatched over the rotted ones. This made it impossible for rain water to drain off and made the deck rot at a faster rate.


The girls encouraged one another and used all their might to "pop-it". Meaning as each board came up they would help us pop the final nails out

The support beams tipped over & were no longer fastened down once the floor boards came off
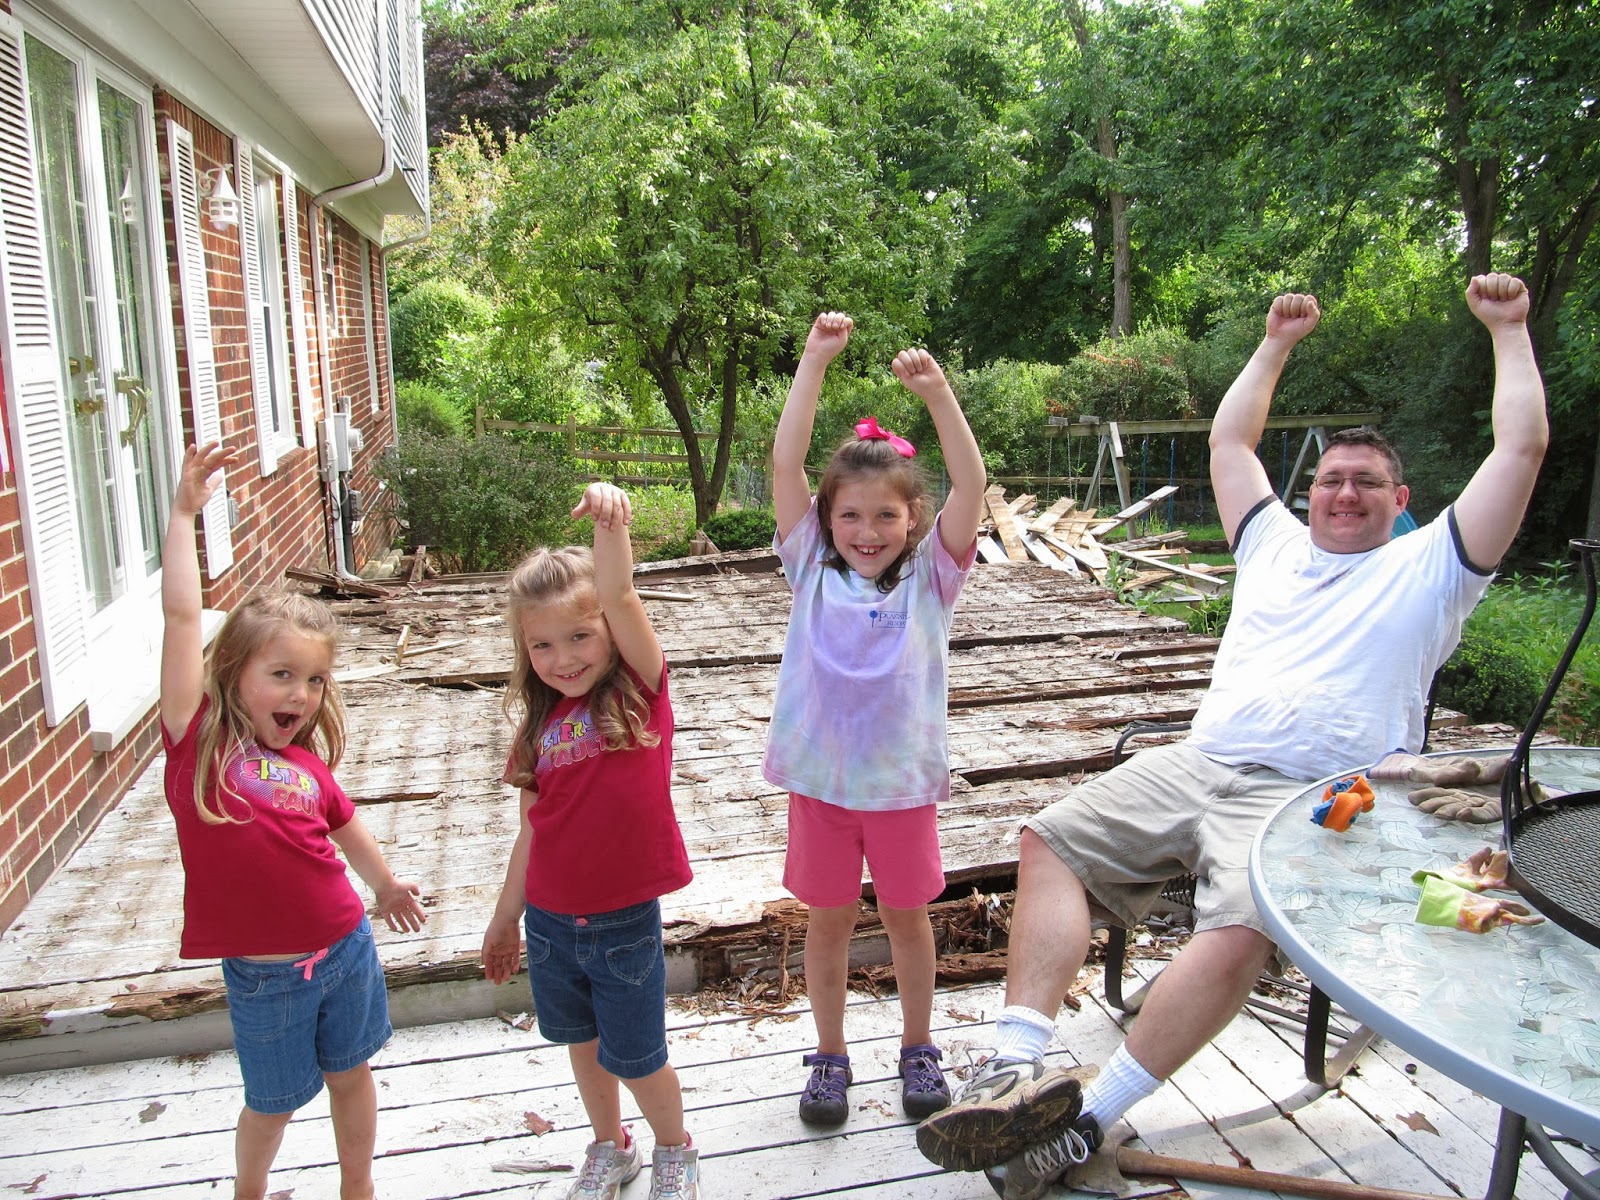
Sweet Victory!


Tree and shrub removal


The final boards are removed - time for the demo to be done and construction to begin!

Reinforced the understructure of the lower portion (recycled boards = money saved)

Rented auger tool used to dig 42" footings for new posts. This was a very hot, frustrating, hard two days of labor for my husband and brother-in-law. The two man auger with no reverse was constantly getting stuck and had to be dug out by hand. They learned that the one man auger with a reverse worked much better. Rocks and hitting the electrical line (which was marked, but about 5' off from being accurate) were their enemy, but thankfully everyone is fine and the job could continue.

While waiting for the building inspector to come and look at our beautiful holes we worked on resurfacing the lower portion of the deck and installed posts and a few railings. Exciting to see this progress and have a great visual of what the end result will be.

Posts and framing now completed on the entire deck

Another angle of the posts and structure

We used the CAMO hidden fastener tool. It spaces your boards correctly and glides the screw in at an angle into the side of the board. This leaves the surface smooth and unmarked much like a hardwood floor. It was very easy to use. All of us used the screw guns to get the job done!

Here I am! See I did help. Here we are putting on the final railings - Exciting!
My favorite feature about these railings is the fact that you can see through them and enjoy the flower gardens and lake view. The lattice rails that were previously up blocked the view. The iron balusters also give it a higher end look
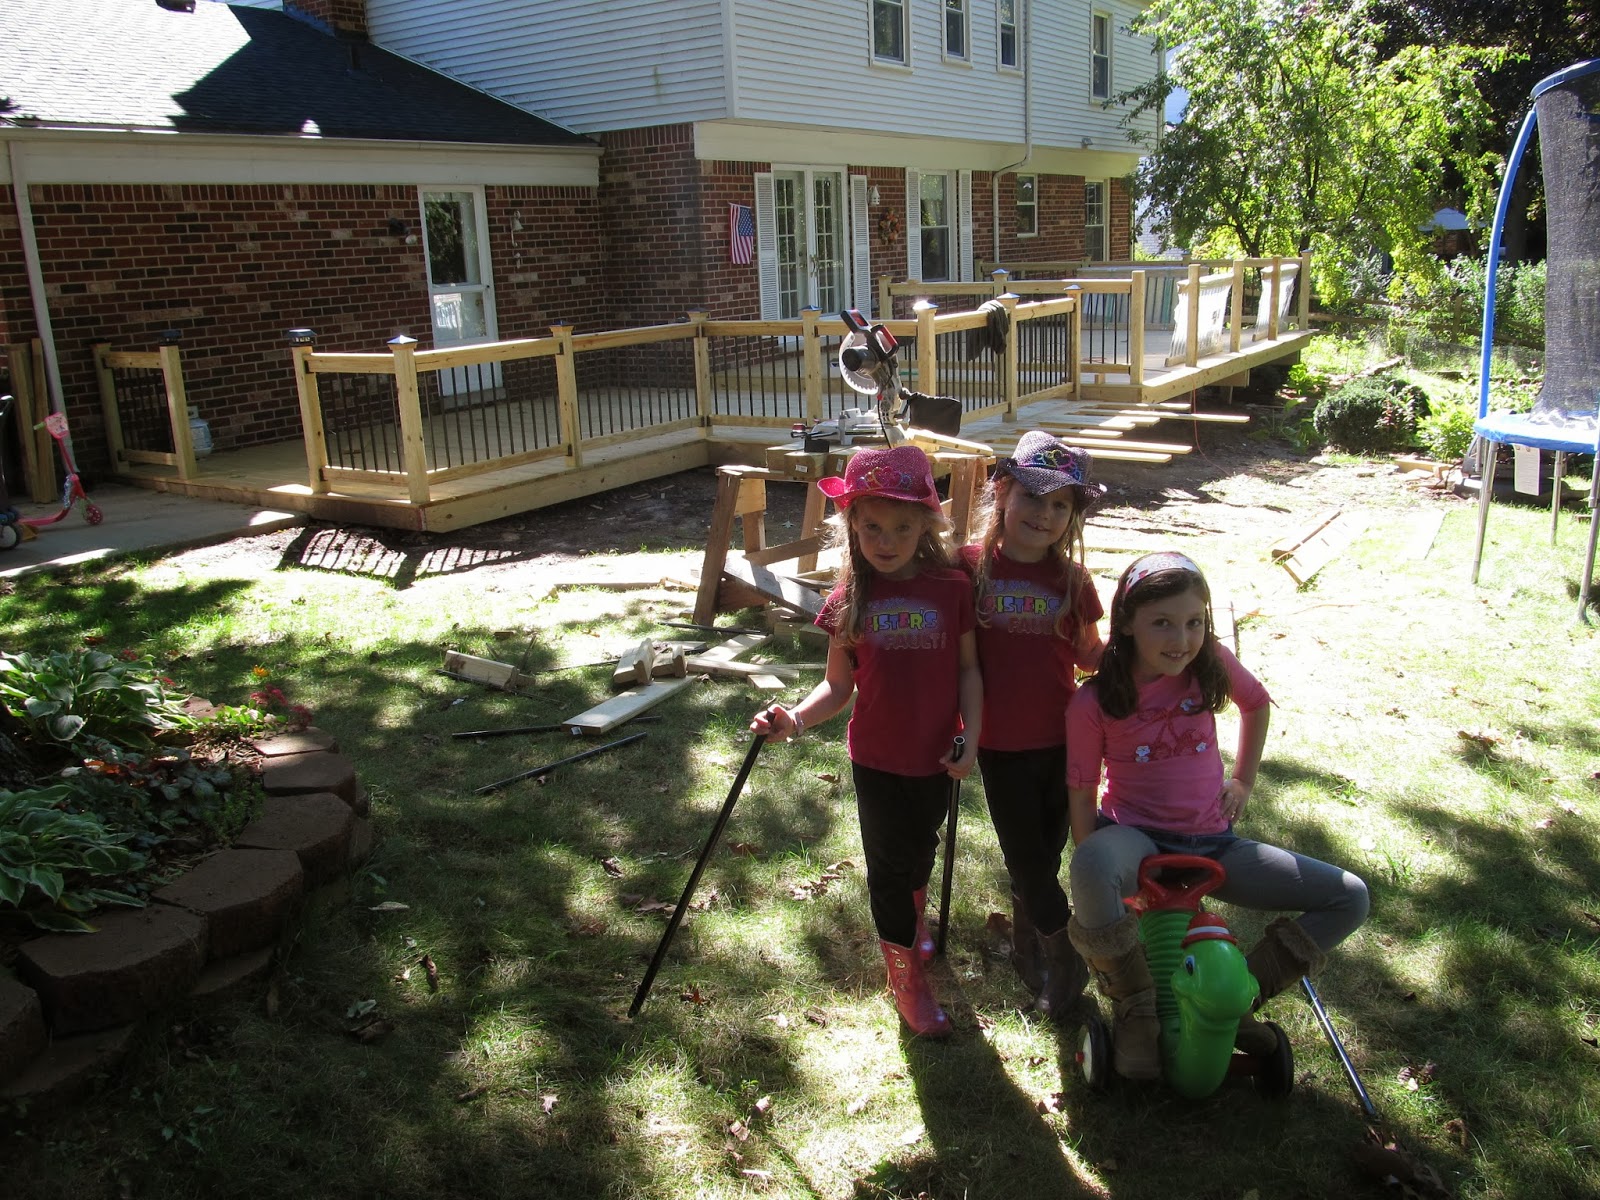
Kids were busy playing cowgirls on railing day. Don't you love their 'horse'?

Finishing touches -The ends of the boards were sawed off and the decorative post caps installed

Cleaning up the mess we made in the yard (they didn't know I was watching from the kitchen window)

Our first family meal on the new deck! Since it's Fall in Michigan we had beef stew & beer bread

The furniture is back in place and we are thrilled with the results. Stop by before the snow flies!

Linking up to the DIY party
Fall 2014


Linking up to the DIY party
Fall 2014
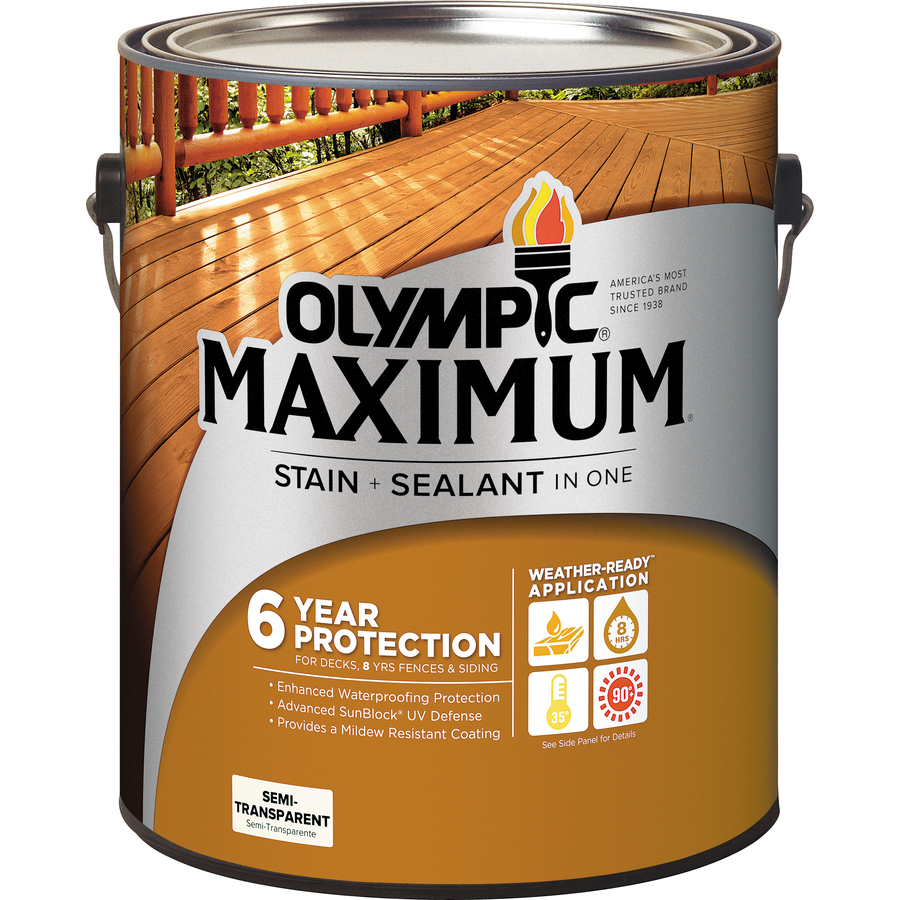
After allowing the pre-treated lumber to dry out enough to accept the stain/sealer we waited for a full year before finishing our deck. We chose Olympic Maximum Stain Sealant in the color "Sierra" - a semi-transparent stain/sealer-in-one.
First step: Cleaning the deck with Olympic deck cleaner from Lowes. We followed the directions and sprayed the chemical onto the wood. It worked really well and restored the wood to like-new condition.
Second step: Staining the railings using small paint brushes and foam brushes. Working from top to bottom, the most time consuming part was keeping the stain off of the iron balusters. The stain easily wiped off with a damp cloth. The time invested was worth the end result because the contrast is beautiful.
Third step: Sanding rough spots on the deck boards.
Final Step: Staining the deck boards with small foam rollers and foam brushes to get between the boards. There are quicker ways, but I couldn't get an even finish with other methods.
End Result: Staining took several days as I mostly worked by myself while my kids and husband were at school and work.
How the deck looks today - we winterized yesterday and we were just in time!
More Before/After's: