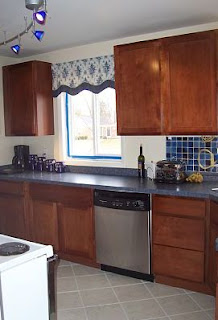
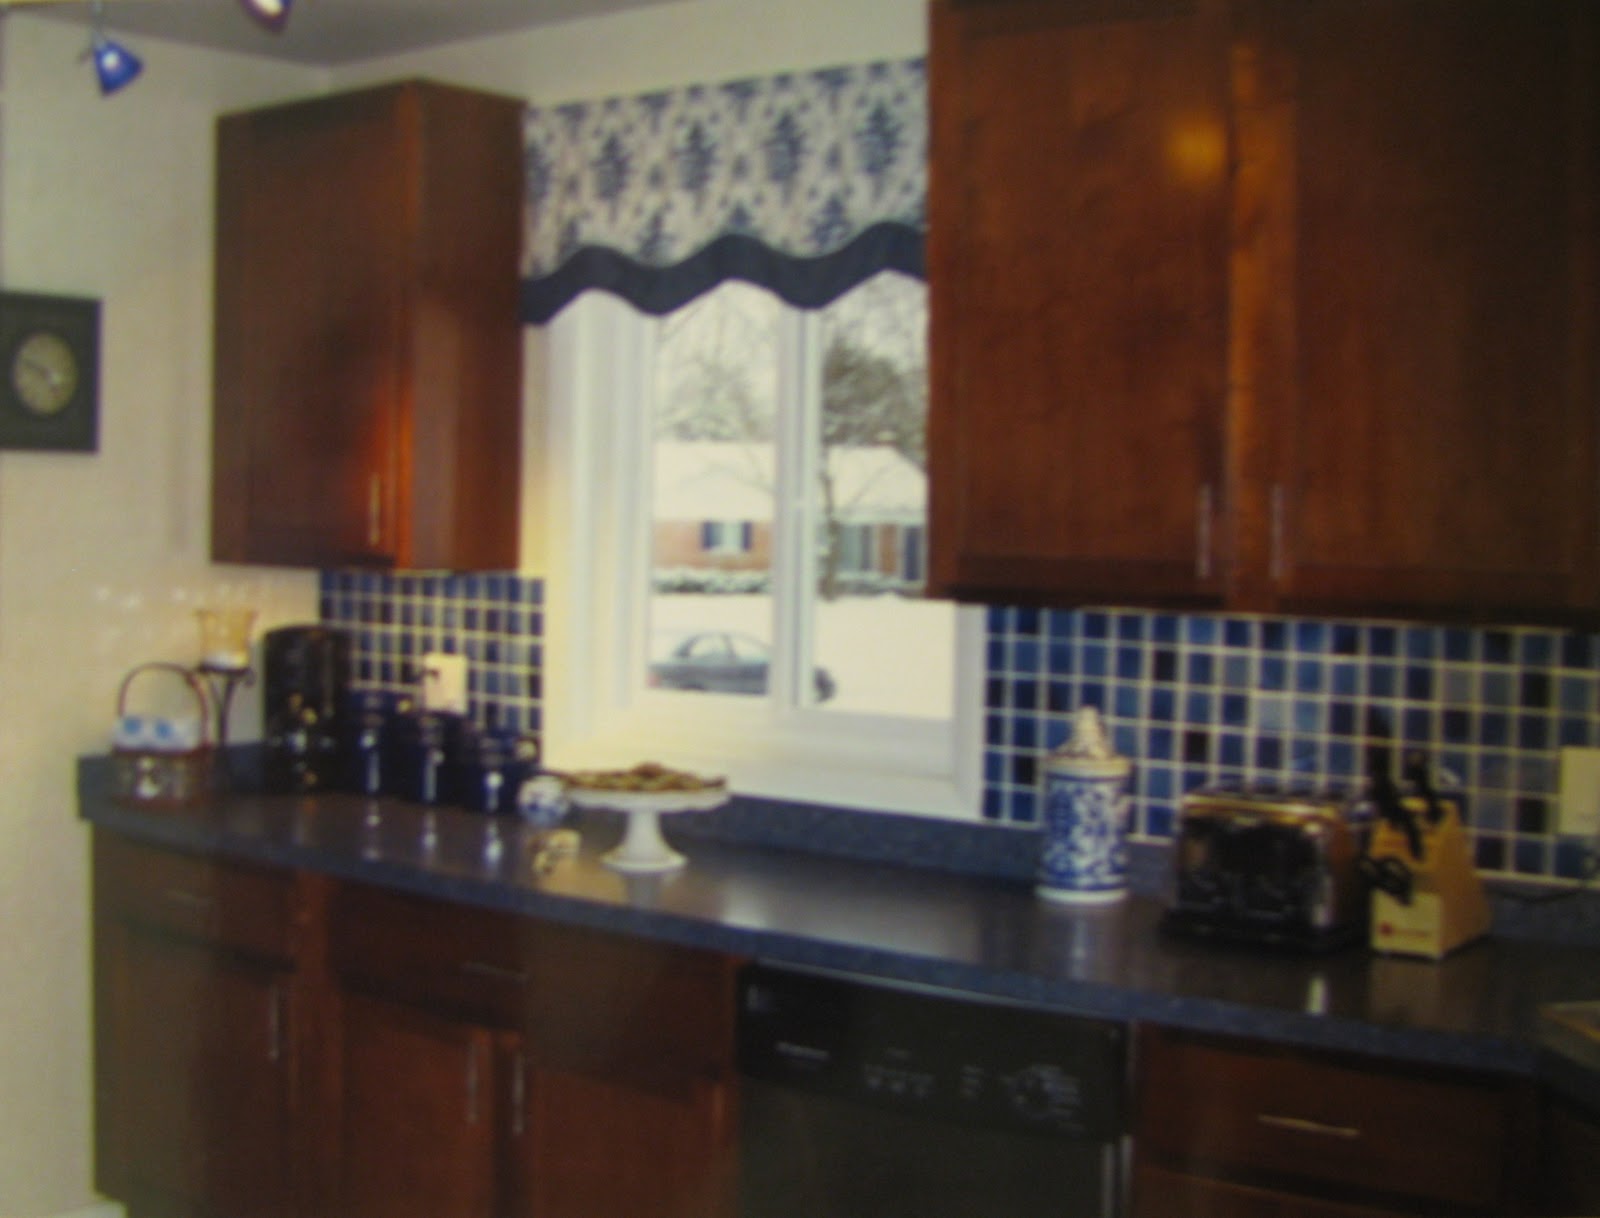
Unfortunately I do not have any pictures of the kitchen when Ben first moved in. I will have to describe it quickly - wall paper floor to ceiling white w/ blue horizontal & vertical bisecting lines with a faded border of Victorian houses. The cabinets were painted white and had baby blue doors with white ceramic knobs. Linoleum white flooring remained the same in the orange and blue scheme pictures. Cobalt blue linoleum counter tops. Sheer cafe curtains adorned the aluminum windows (which were replaced with new windows in the these pictures). The original kitchen did not have a dishwasher, so we added the stainless steel dishwasher with the dream that someday all of the appliances would be upgraded. The best thing going for this kitchen was the gorgeous cobalt blue wall/back splash tiles. In an attempt to work with the tiles and to modernize the kitchen I used a complimentary color scheme and boldly painted the walls orange. The color was a bit nauseating so a complete DIY kitchen makeover was in order. We attempted this refreshing re-do while I was in my 3rd trimester of my pregnancy with my first daughter.
 |


Complaints: This stove only had 2 working burners. Additionally, it really bothered me that there was no place to set items from the fridge down since there was no counter on that side of the room. I like to get a beverage out of the fridge and be able to set a glass down to pour it without having to walk away. My husband didn't understand my argument, but he did come to appreciate the addition of a small workspace between the new stove and fridge.


Complaints: Bad lighting and eat-in kitchen = wasted space in this circumstance.
Praises: Vintage milk door. See the white little door in the picture on the left? That was a sealed up milk door, but it is staying in this renovation. In my opinion that is a little piece of American history. Many times I looked at that door and wished that there was still a milk man...
Time for the Grunt Work: Destruction!


Praises: The removal of cabinets went well. I was able to recycle the upper cabinets near the sink and turn them into book shelves. See here. The long horizontal cabinet above the stove and fridge has been beautifully restored and placed in my sister's laundry room with a drying bar attached.
Complaints: Old mouse nest found under base cabinet... YUCK!


Complaints: When ripping down the soffits, it sounded like it was raining. It was pouring mouse poo on my husband's head. SUPER YUCKY and a little bit funny! We never had a mouse infestation problem while we lived there, but at some point they were in that attic and under the base cabinet. Ewww.

Soffits are removed and drywall patching has begun

Hardy backer is installed! This is also the end of the orange. Ahh, so serene.

Walls and trim are primed!


Paint is on the walls - Color is Dune by Sherwin Williams and the tile is ready to be grouted.

Praises: Cabinet installation in progress. These are Merrilat cabinets. Maple with a cherry paprika finish.
Frustrations: The tiles didn't adhere well enough in a few places.
Solution: They are got more thin set on them and were reinstalled.


Praises: Miles more of cabinet and counter space, oh my! Very exciting!
Frustration: Searched EVERYWHERE for more cobalt blue tiles. They do not exist.Solution: I carefully removed enough tiles from behind the refrigerator and placed them one by one on either side of the window to make the back splash complete. It was not really completed until several months after Olivia was born though.

Progress: Dishwasher installed, counter tops in place, ceiling light fixture installed, under cabinet lighting in, cabinet pulls installed, stainless steel sink and chrome goose neck faucet installed, hand sewn valances hung (made by ME, I was so proud of these).

Pendant light fixture over the sink.
Tip: To hang the curtains and have them wrap around the corner, I used inexpensive white metal curtain rods. In the corner I inserted the bent part into the straight portion of the adjacent rod to make a 90 degree angle & had the corner resting on 2 long screws in the middle for support. It worked beautifully. Fabric for these curtains were found in the clearance bin at Wal-Mart.


Back splash completed! I am not sure why I took these pictures when there was so much junk on the counter. Ugh. Apologies. The wall cabinet to the far left served as a coffee and tea area. It was perfect!


New appliances installed and a fancy little counter space between the fridge and stove was a dream come true. This freezer had an ice maker and my husband jokes that it saved our marriage. We only had it for a brief time before we moved and we're still dreaming of it at this house. The final detail that we added was a wine rack above the fridge.


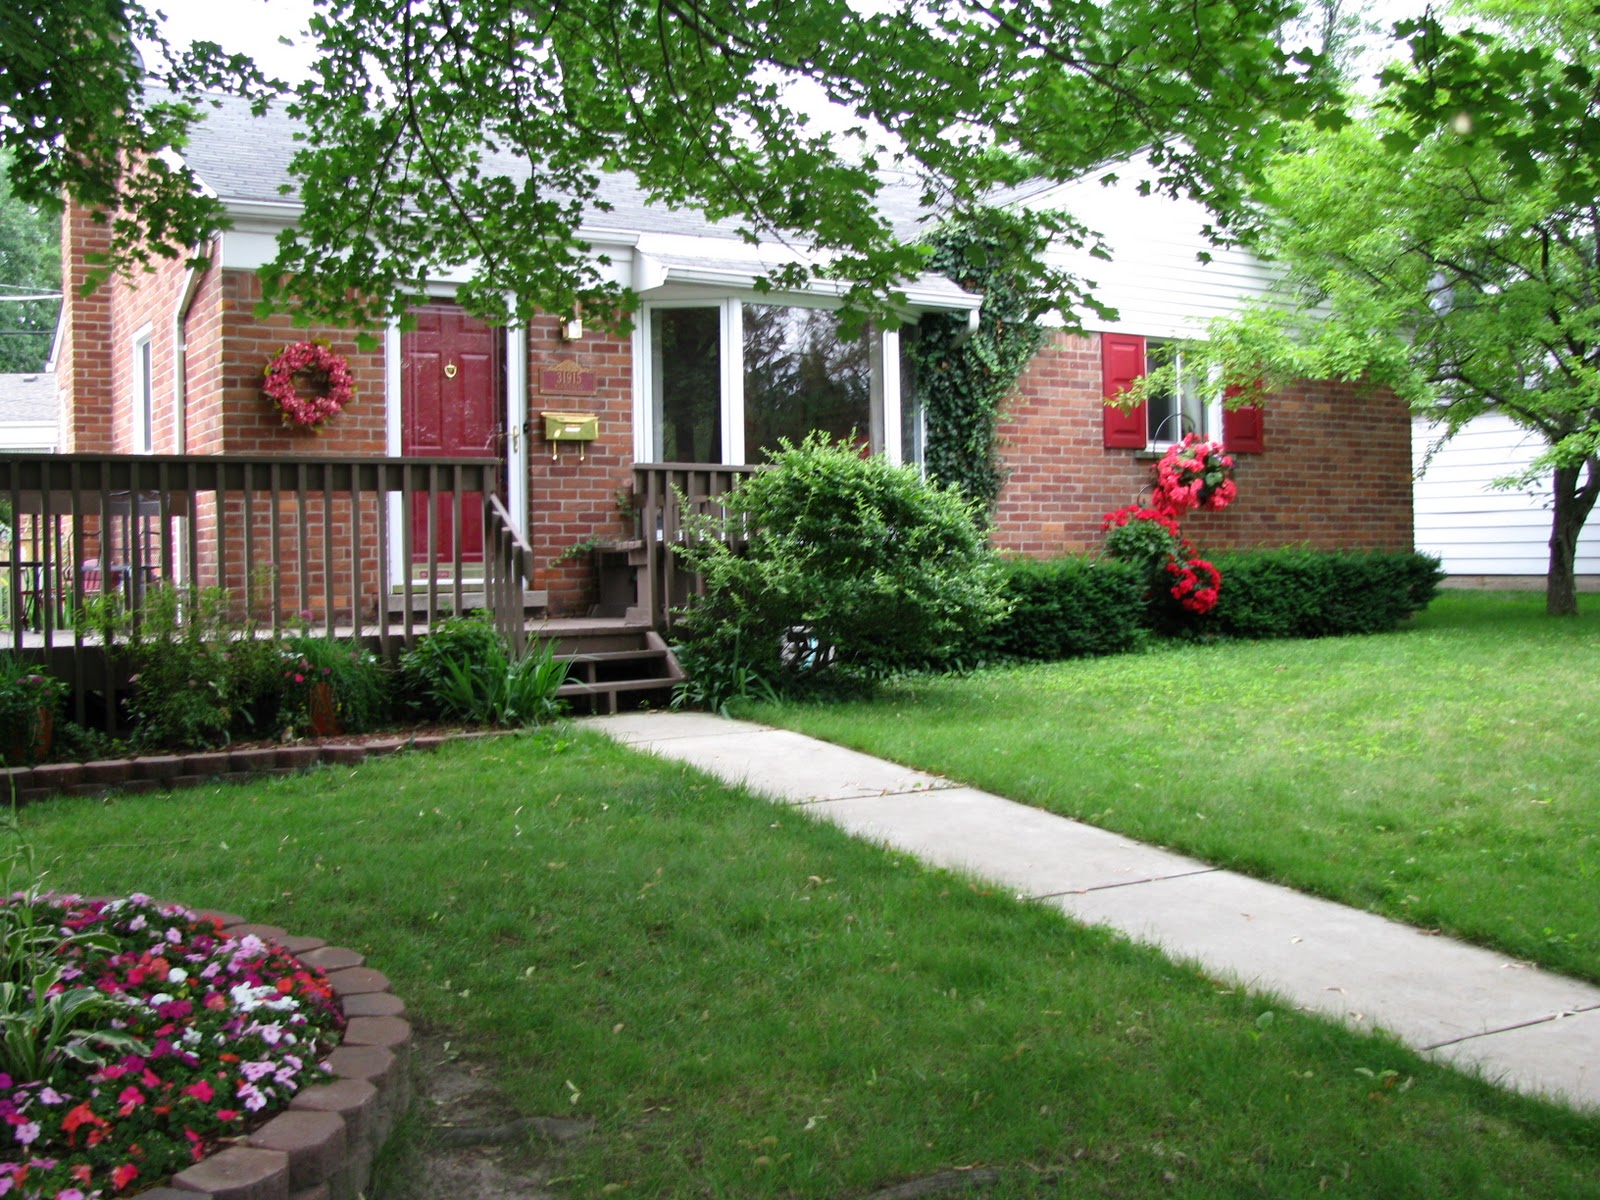
Final before and after comparison: We've come a long way, baby!
|


Thank you for stopping by ~ Have a blessed day.