Thursday, February 28, 2013

Precious Playroom

This room used to be a white, boxy guest room and office combo.  It was a room that was rarely used while our family room was working overtime loaded up with toys and books.    Now that our girls are a little older they are able to sneak away to play and let their imaginations soar in this precious playroom.

 
The first thing I did in this room was paint the walls a soft grey color (Behr silver sateen).  Gloss white Expedit shelving from Ikea organize our large book collection and tiny treasured toys stay neat and tidy in the canvas bins.  


This window bench began as an outcast basement coffee table inherited from the previous homeowner. While I was getting this project underway I gave this table a new life. It is a sturdy wooden piece with a large drawer. I spray painted it in a gloss white to match the color of the expedit shelves, added silk gerbera daisies behind the knobs, and had a cushion custom made for the top which makes it the perfect place to read or a hospital bed during imaginative moments.

 
The wooden curtain rods were spray painted gloss white. They were originally in the master bedroom when we moved in. I made the curtain panels from fabric I purchased on Ebay. I lined them and made a simple rod pocket at the top. You can see the detail of the fabric pattern below.
 
 
This white ikea lamp below hangs from ceiling hooks in the corner of the room and combines with a table lamp to illuminate the space.


This is a photo collage of our dancing ballerinas
 
 
The silver portion of this lamp was white porcelain and it was topped off with a red and green plaid shade - gasp!  (Another inherited item from the previous homeowner).  It is looking much more modern now thanks to spray paint and a new lampshade from Tuesday Morning Store.
 
In the photo on the right, all of the furniture was plucked curbside.  The chair was bright red and peeling.  I sanded it down and spray painted it bright pink.  The bookshelf needed a good scrubbing and I hot glued ribbons to make it more playful and to cover the ugly adjustable shelf holes.  Below is a before and after of the shelf.
 
 
Before


 After
 
After furnishing the toy room, the next step was decorating and organizing the abundance of toys. I found cute owl and flower wall stickers on clearance at Kohl's and they fit the color scheme perfectly! I used them to create canvases & to make the chalk board wall more playful and fun.


For the "Fruits of the Spirit" canvas combo, I used inexpensive canvases that were on clearance for $2.00 for the pair at Home Goods. The first step was spray painting them bright pink.  Then sticker letters spelling out "peace, joy, love, patience, kindness, goodness, faithfulness, gentleness, and self-control" were added. Finally I sprayed over the stickers with white spray paint and allowed it to dry.  Once it was dry I peeled back the stickers to reveal pink letters in various fonts.  After adding the owl, bird, and flower stickers they were ready to hang! 


This rectangular canvas above was also re purposed and spray painted white and stickers were added.

 
The charcoal grey chalk board was easily painted onto the wall with a foam roller and the white frame was simply taped off and painted glossy white.  The playful stickers were added here along with an analog clock to help the girls learn how to tell time.
 
 
I am very pleased with the end result of this precious playroom design.  The girls have a lot of fun and make lots of messes  oops!  I mean memories in this space and the family room stays mostly clutter free now.  Happiness for all of us! 


Saturday, September 22, 2012

Happy Fall Friends


Autumn has Arrived
 

In Michigan we are blessed to have four distinct seasons.  It is always a joyful time when the seasons change. 

 
To everything there is a season, and a time to every purpose under the heaven.  Ecclesiastes 3:1


We added some colorful Fall decorations to our house yesterday.  Now we will begin to see these beautiful colors forming outside.  Enjoy the splash of color along with the crisp air, cider & donuts, apples, toasty fires, and friends during this short and magical season. 


Monday, September 17, 2012

Mirror Makeover

Manufacturer Mirror Makeover
 
This bathroom is the main bathroom on the second level of our house.  It is mostly used by our three daughters and guests.  This blue scheme was inherited from previous home owners and is here to stay as the sink, toilet and tub are in excellent condition.  The decor is Holly Hobby inspired.  Notice the canvas above the toilet.  I took this photo of my little girl last summer.  She is wearing a coat and bonnet that were hand sewn by my mom and I used to wear them when I was a little girl!  Enough nostalgia, I am here to talk about the plain Jane manufacturer mirror that has functioned, but flustered me over the past four years.  I looked at it daily trying to figure out how to add trim over the plastic mirror fasteners.  After some pinterest inspiration I found my solution.  I was also scared to use power tools, however my husband gave me a fabulous tutorial on the reciprocating miter saw and I was well on my way.  I am very pleased with the results:    
 
 
 Here is a photo taken before the makeover. 
 
 
There were four plastic clips holding the mirror in place.  One by one I removed the clips and replaced the plastic clips with over sized washers. 


In order to build up the surrounding area by 1/4" (the thickness of the mirror) I added inexpensive 1/4" thick wooden strips to level the surface and to provide something to secure the moulding to.
 
The finished mirror now has a 4.5" wide moulding with 4.75" rosette corner details.  The trim and rosettes were primed when I purchased them and I added semigloss white paint to accentuate the details.  I adhered the moulding using liquid nails and small finishing nails.  To finish off the look I used latex caulk to fill the slight gaps between the wood pieces. 
 
 
This vanity is lower than most new vanities on the market.  I like the fact that it is lower so my little girls can easily wash their hands and brush their teeth without our help.  This  base cabinet is made of solid wood.  When we first bought this house the cabinet doors were white raised panel particle board covered in white contact paper.  They were torn and had seen better days.  The doors you see above were custom made by a retired carpenter and were less expensive than I could have bought the supplies for.  Such a blessing!  We also added the bead board panel to the left side of the cabinet to add more character.  Wood moulding, door pulls & light fixture came from Home Depot and the faucet is from
Costco.
 
Here is a picture of the cabinet doors before they were replace:


I am very proud that I was able to take this project from start to finish all by myself! Bet you can do it, too. The overall cost of my mirror makeover was approximately $30.00.


Monday, October 31, 2011

Crayola Crayon Costumes

Happy Halloween!

Here is a sneak peak at my girls in their handmade crayola crayon costumes.  I used felt fabric, hot glue, and my own design to create these beauties.  The hats are constructed of Frisbee rings covered in felt.


I have entered this picture into The Children's Place costume contest.  From now through November 11th go HERE and VOTE for these cute crayons.  Thanks for being SWEET!

Sunday, October 30, 2011

Bench Beauty


This wobbly little green bench outfitted with an 80's fabric was happily inherited from the previous home owner.  My dad tore the entire thing apart and re glued all of the parts into a sturdy bench.  I painted it and recovered the cushion and pillow using indoor/outdoor fabric special ordered from Joann's.


Here is the finished product happily located in our front foyer.


I chose a basic black finish for two reasons.  First of all, I had semi gloss black paint already and second of all, it will look good in more than 2 different rooms in my house (my new requirement for any design project).  It would also look great on our front porch in the summer time.  I am happy with the end result and grateful that my dad helped me to make this a sturdy and beautiful piece of furniture.

Friday, June 10, 2011

Delightful Dining


Formal Dining Room
It has always been a dream of mine to have a formal dining room.  I enjoy cooking and entertaining.  This room is a nice size and we can seat 10-12 around this table and often have other tables set up in the front living room which connects to the dining room.  Click here for a blog entry about our black living room:
This room is a wonderful compliment to our adjoining black living room.
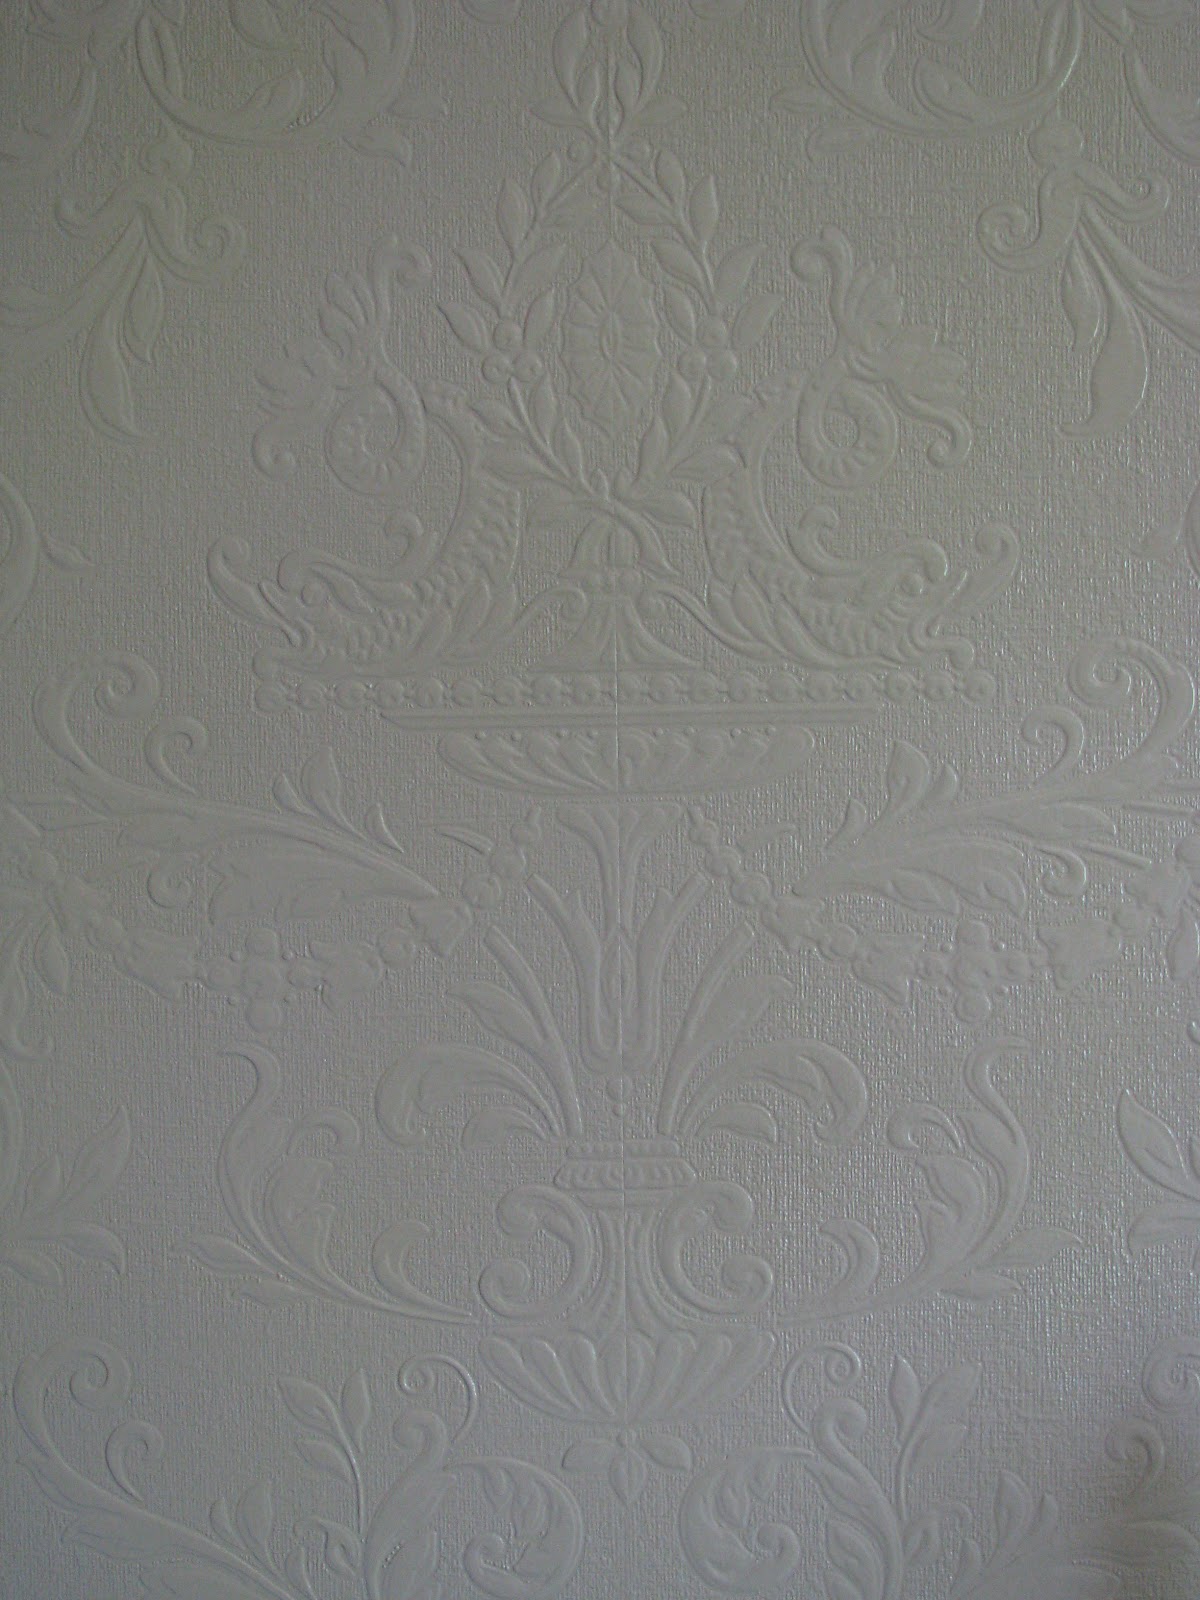
The dining room renovation included tearing down 70's wallpaper and patching the upper portion of drywall as it was not easy to remove.  Once the walls were in tact again, I put up paintable, textured wallpaper from Home Depot.  It is hard to capture this treatment in photos, but it really is an elegant finish when you see it in person.
I painted the upper portion of the wall papered walls with semi-gloss taupe.  The bottom portion is the same taupe color in eggshell finish.  The chair rail is gloss black.  Here is a photo of the dining room before we moved in:
I kept the chandelier for now and removed the shades for a modernized, brighter look.  The sheer window treatments were switched out for new pinch pleat drapes hung on a distressed black rod with matching clips.  Drapes, rod, and clips are from JCPenney.  I was able to get good sale prices on everything.

This photo shows the fabric detail of the drapes.  The close up of the chair rail shows the distressed gold on the gloss black.  When I painted it black you couldn't see the lines in the trim so I took a gold paint marker and went along the lines in an imperfect way to distress and highlight the trim. 

Furniture Finds
Every piece of furniture in our dining room was purchased from Craigslist.com.  I was able to get the table and 6 chairs for $400.00.  I talked the owner down from $500.00 and it is gorgeous!  The only thing I did to it to improve the set was to recover the chairs with fabric from Joann Fabrics.  The chairs came with white stained fabric.

Before 
                                                
After (new fabric on chairs)
***Sorry for the dark pictures, this room is very difficult to photograph.  In the daytime there is a lot of light flowing in and at night there are weird glares off of the chandelier and not enough light***

For nearly two years I searched for a coordinating buffet on Craigslist.  I was willing to refinish a piece as long as it was the right style, size and quality.  I came upon this buffet in the perfect shape, scale, color of wood, etc.  It was listed for $200.00 and I talked him down to $150.00!  Isn't this beautiful!?!  I appreciate the extra storage and the extra display space & serving space for entertaining.


Look at how well the wood coordinates with the table top ~ Happiness!
 
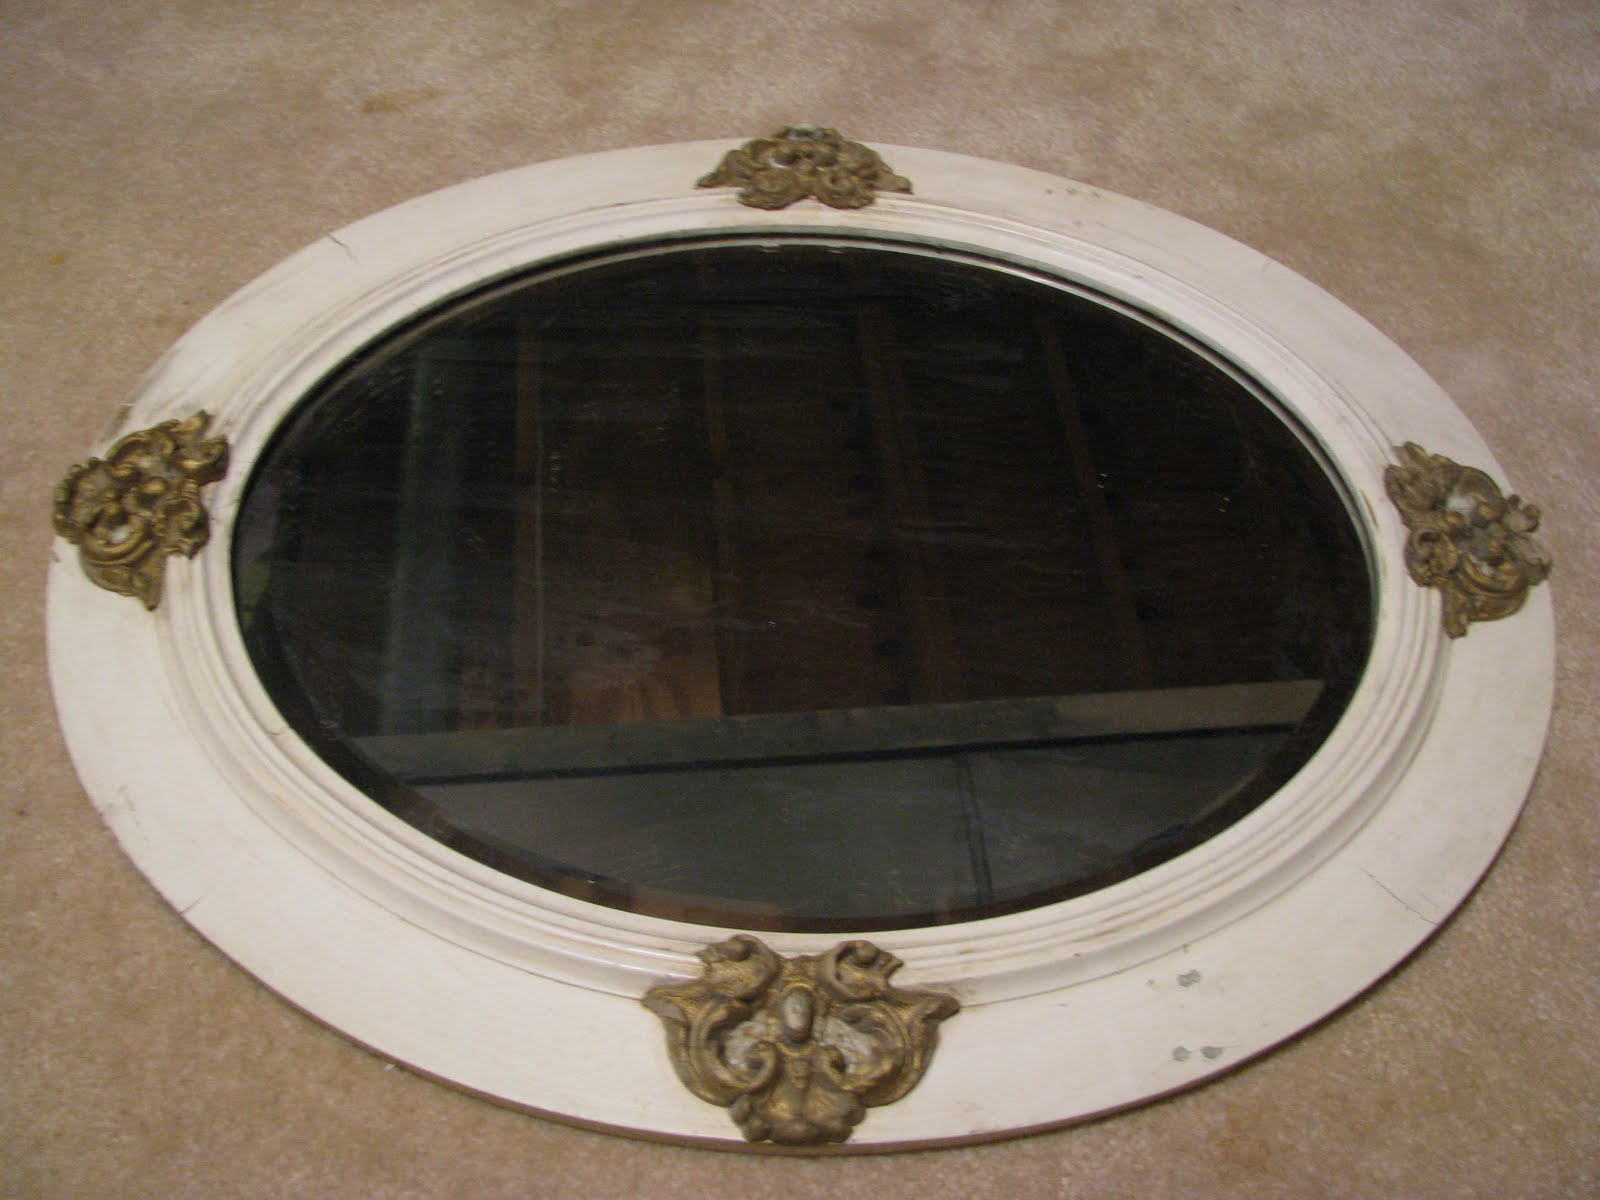
With the buffet in place, I wanted to fancy it up with a mirror.  Back to Craigslist.com I went.  This time my search only lasted a few weeks and I was able to score the perfect oval mirror.  The mirror fantastically reflects the natural light & landscape from the window and it is positioned across from the chandelier creating the perfect reflections.

 
The oval mirror is beveled and is antique and shows its age.  The frame was a shabby chic white, but I painted the wood with eggshell black (leftover from the front living room walls).  The detailing shows up better since I glazed and distressed it using glaze tinted with the beige wall color.  The gold relief was left untouched.  Here is the mirror as it was when I bought it (for $30.00 on Craigslist).

This room is happily complete!  The latest thing I am searching Craigslist, EBay and Homegoods for is a matching set of buffet lamps to flank this oval mirror.  Always something...


 The table is set.  Come and dine with us, my friend!  Our kids really enjoy eating in "the fancy room" as they call it.  With white carpeting we don't eat in here daily. 


Dining Room Update 2012
 
This Spring I had the honor of hosting a baby shower tea party for my sister-in-law, Anna.  It was a lot of fun to plan and execute this gathering.  At the time of the shower we did not know if baby was a HE or a SHE.  In May baby surprised all of us by arriving a month early and it was then revealed to us that baby was in fact a GIRL!  Caitryn Antoinette was 4lbs, 14oz and 17 inches long!
 
 
It was fun to use my fine china for this special occasion!  This pink table cloth was from the wedding reception of the mommy-to-be!  Maybe secretly I also wanted her to have a little girl since up until now I am Aunt to two nephews and zero nieces...
 
 
As I am blogging I wish I could reach into these pictures and have few nibbles and sips.  Yummy!
 
 
Hot tea, pink lemonade, water, chicken croissant sandwiches, fresh fruit salad, chocolate hay stack cookies, and fruit pizza made a lovely late afternoon tea for ladies of all ages.
 
 
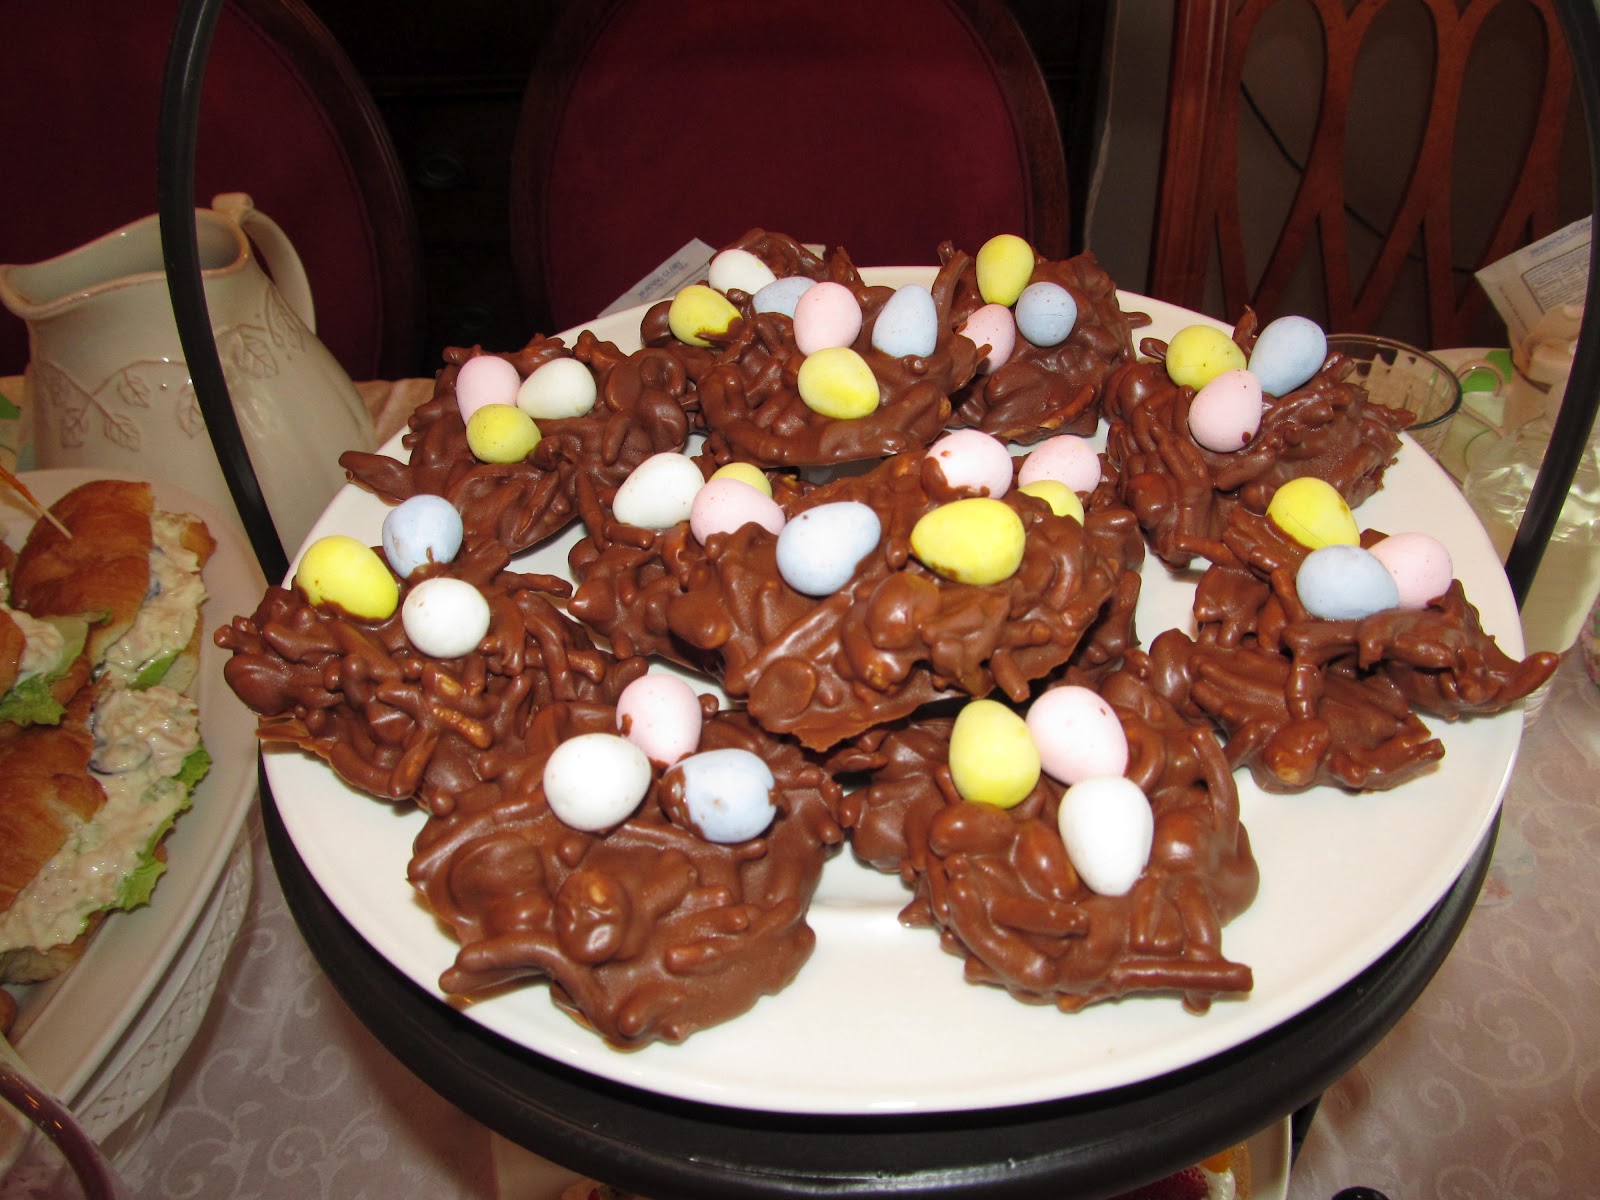
Hay Stack Cookies these no-bake treats are very easy and yummy.  I added the Cadbury eggs on top to signify baby making THREE in the Coss family.
 
 
Daffodils were in bloom and provided a Springy, gender-neutral splash of color to the dining room. I sent each guest home with morning glory seeds. I hope they had better luck with theirs. Unfortunately, mine failed to flourish in my garden.
 
 
Individual Fruit pizza (semi-homemade)  Here is the secret - buy the bakery sugar cookies from Meijer, make your own fluffy frosting and top them with fresh fruit.  Super easy, beautiful, and most importantly delicious!
 
Here is beautiful baby Caitryn.  We had the opportunity to visit her and her parents over the Fourth of July holiday in Florida.  Caitryn is not only beautiful, she is a sweetheart!  Here is a cousins photo below.
 
 
Buffet now has the twin lamps flanking the mirror.  They add ambient light to the room in addition to the chandelier. They were purchased at a furniture store.  We had ordered new love seat couches for our family room and since they were delayed in delivering them (by several months) the store gave us a credit of $100.00 to use in the store.  These were exactly what I had in mind and the free price tag was very appealing.

The beautifully framed artwork on either side of the buffet were a surprise gift from my husband.  They are Renoir etchings and are a lovely addition to this room.


Cheers
To good friends, health and happiness